Contents
Locations and Warehouses
Warehouses are the top-level storage containers in Inventory Pro. Each warehouse can contain any number of locations - sub-level storage slots used to track exactly where items are stored. This page covers creating and managing warehouses, assigning items to warehouses, managing locations, and printing location labels.
Warehouses
Warehouses represent physical facilities - a building, room, or site - where inventory is stored. Assign items to warehouses to control where they can be received, issued, or restocked.
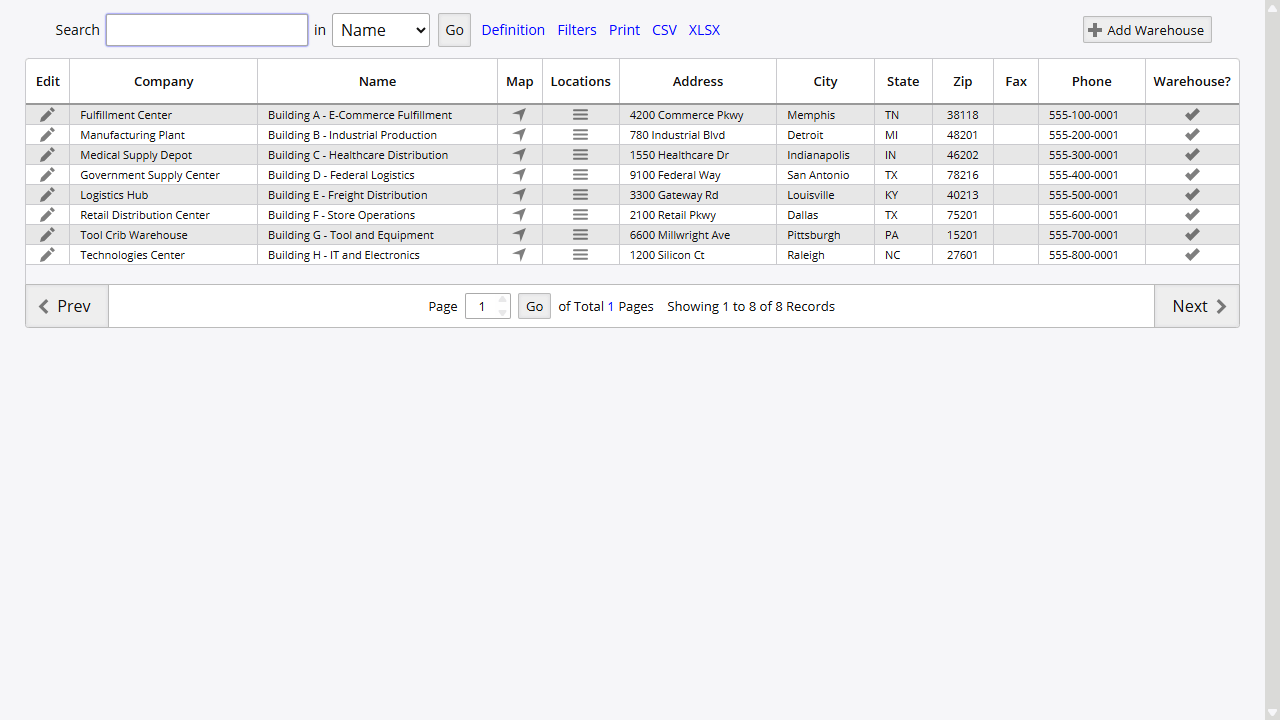
Warehouses List
Inventory → Inventory → Warehouses
The Warehouses list shows all configured warehouses with columns: Edit, Company, Name, Map, Locations, Address, City, State, Zip, Fax, Phone, Warehouse?
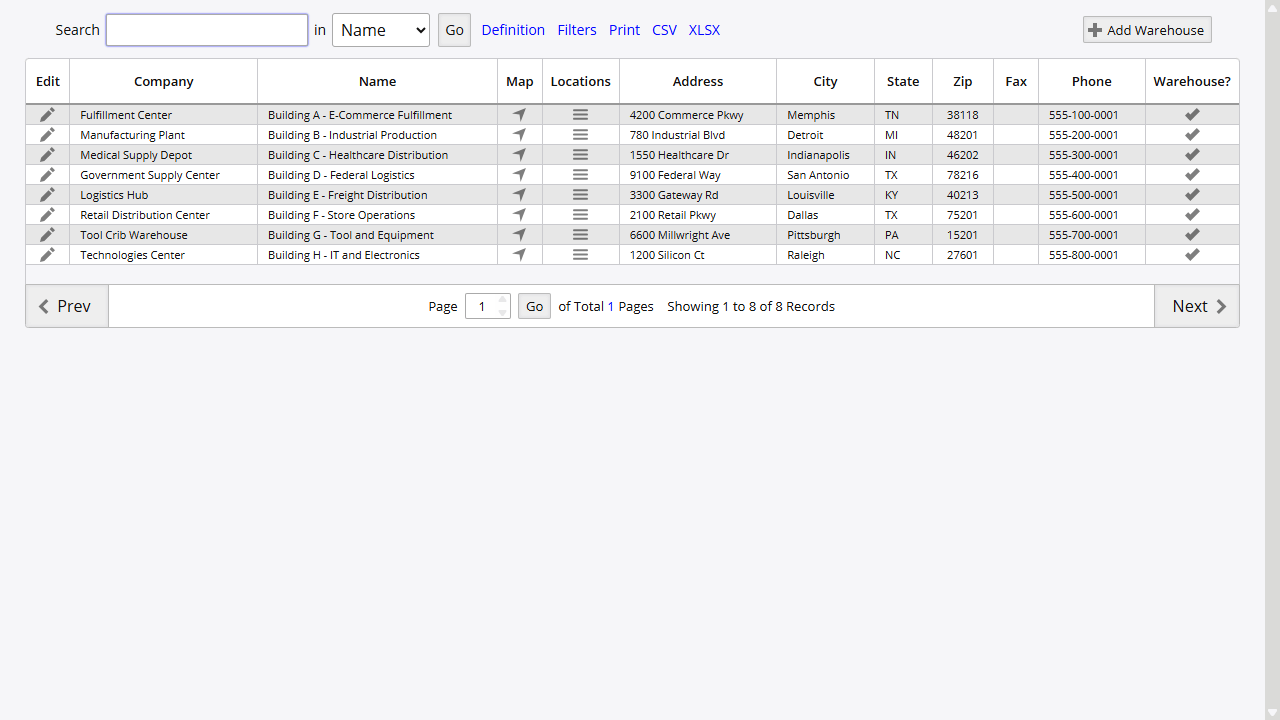
Adding a Warehouse
- Click Add Warehouse in the toolbar.
- Fill in the Add New Record form:
| Field | Notes |
|---|---|
| Company Name | Company or facility name - up to 50 characters |
| Location Name | Name for this warehouse - up to 50 characters |
| Address 1, Address 2 | Street address |
| City, State (Province), ZIP (Postal Code), Country | Location details |
| Primary Contact, Email, Phone, Fax | Contact information |
| Is a Bill To Address | Check if this warehouse is used as a billing address |
| Is a Ship To | Check if items ship to this location |
| Is a Ship From | Check if items ship from this location |
| Is a Warehouse | Check to designate this record as an active warehouse |
| Truck / Mobile | Check for truck or mobile warehouse operations |
| Return Location | Default location for returned items (select) |
| Default Label | Default label format for this warehouse (select) |
| Logo | Logo used on documents for this warehouse (select) |
- Click Save.
Editing a Warehouse
Click Edit on any warehouse row to open the same form. Make changes and click Save.
Warehouse Assignment
Warehouse Assignment controls which warehouses an item is available in. There is no direct menu path - access it from the Inventory Overview:
- Find the item row in the Inventory Overview.
- Click the context menu icon (bullets) on that row.
- Select Warehouse Assign.
The Warehouse Assignment popup opens showing the item ID and “Enabled in Warehouses”. A checkbox grid lists all warehouses - check or uncheck each warehouse to enable or disable the item there.
Info: Underlined warehouses have active stock for this item and cannot be disabled.
To manage reorder settings by warehouse, click Restocking Levels from within the Warehouse Assignment popup.
Locations
Locations are sub-level storage slots within a warehouse - shelves, bins, racks, or any named position. Each warehouse can have as many locations as needed.
Locations List
Inventory → Inventory → Locations
Select a warehouse from the Warehouse dropdown at the top of the page to filter the list. Columns: Edit, Label, Location, Description, Warehouse, Zone, Preference, Status.
Adding a Location
- Select the target warehouse from the Warehouse dropdown.
- Click Add Location in the toolbar.
- Fill in the Add New Record form:
| Field | Notes |
|---|---|
| Location | Unique identifier within the warehouse - up to 20 characters |
| Description | Descriptive label - up to 50 characters |
| Warehouse | Warehouse this location belongs to (dropdown) |
| Pick Path | Numeric sort order - used to sequence locations during picking |
| Hold | Check to mark this location on hold; items cannot be picked from held locations |
- Click Save.
Editing a Location
Click Edit on any location row to open the same form. Make changes and click Save.
Location Utilities
Location label printing and bulk location creation are both available at Utilities → Inventory → Location Barcodes. The page is titled Location Utilities.
Printing Location Labels
- Select the target warehouse from the Warehouse dropdown.
- In the prefix field, enter a location prefix or type All to include every location.
- Field prompt: Input Prefix For Location Or ‘All’ For Every Location
- Click Print Location Labels.
Bulk Location Creation
Use the Generate Locations section on the same page to create a numbered sequence of locations at once:
- Enter a Location Name - the naming prefix for the new locations.
- Set Beginning Location and Ending Location numbers (defaults: 5 and 10).
- The Warehouse dropdown at the top of the page determines the target warehouse.
- Click Create Locations.
Warehouse Purge
Purging permanently removes a warehouse and all its associated data. This operation requires Security ID 301 (System Security - Purge Inventory).
The Purge Warehouse button is visible only to administrators with Security ID 301 and is hidden in Read Only mode. The purge process requires two confirmation steps before it proceeds.
Related Topics
On this page